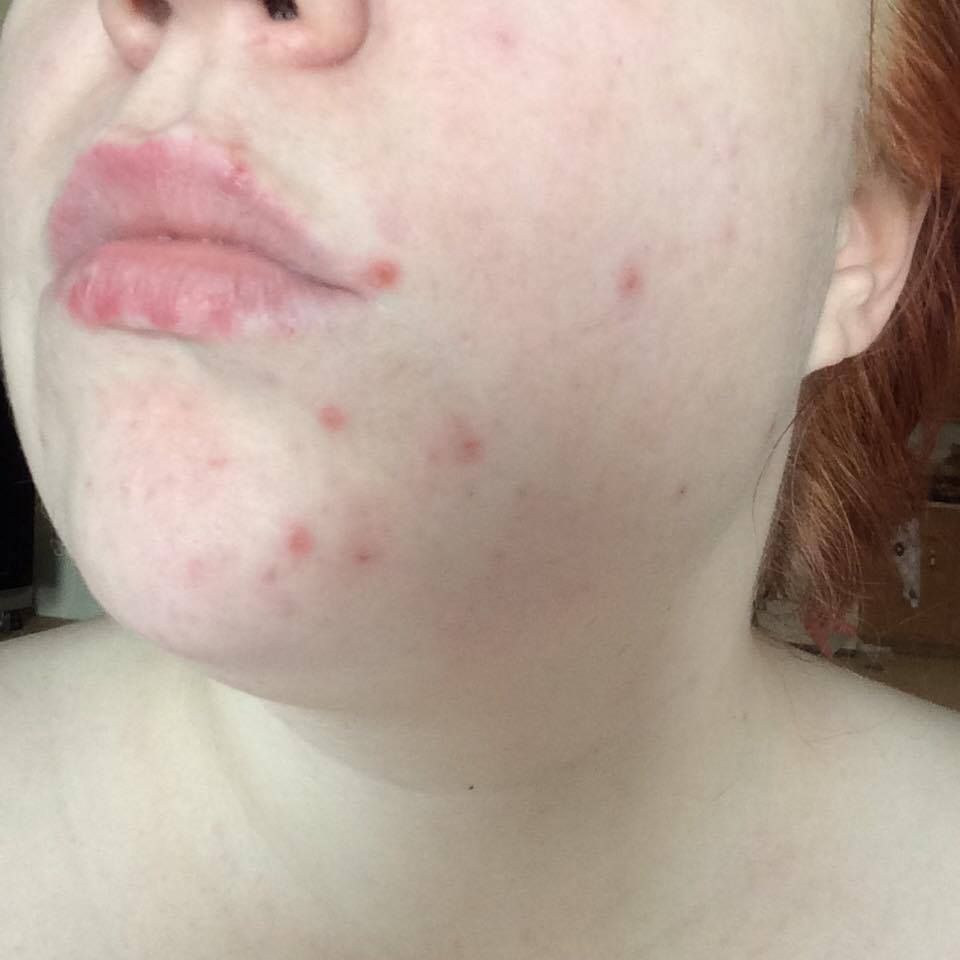
Alright, so I thought it would be fun to do a blog post dedicated to the makeup products I absolutely cannot live without. Those who know me IRL know how much I am tied to these... Lol. The truth is that I have pretty crappy skin. I haven't always.. But for some reason since around age 27 I break out so bad. So much for outgrowing acne? I have a great skincare regimen that works for me.. But around that time of the month my skin is a literal disaster zone. I also can't seem to leave it alone, I have a picking problem. Sometimes I'm better w that than others, like if I am going through stress my skin will usually be a mess. Anyways, these couple products SAVE MY LIFE! I won't go anywhere without at least concealer on. I find the blemishes so embarrassing. In fact, my non concealed pictures in this post will mark the first time I have ever actually shared pictures of my skin during a bad breakout. Also, please don't mind the mess behind me in the photos... lol I am a very real life person.
So, here's a breakdown of the products I use:
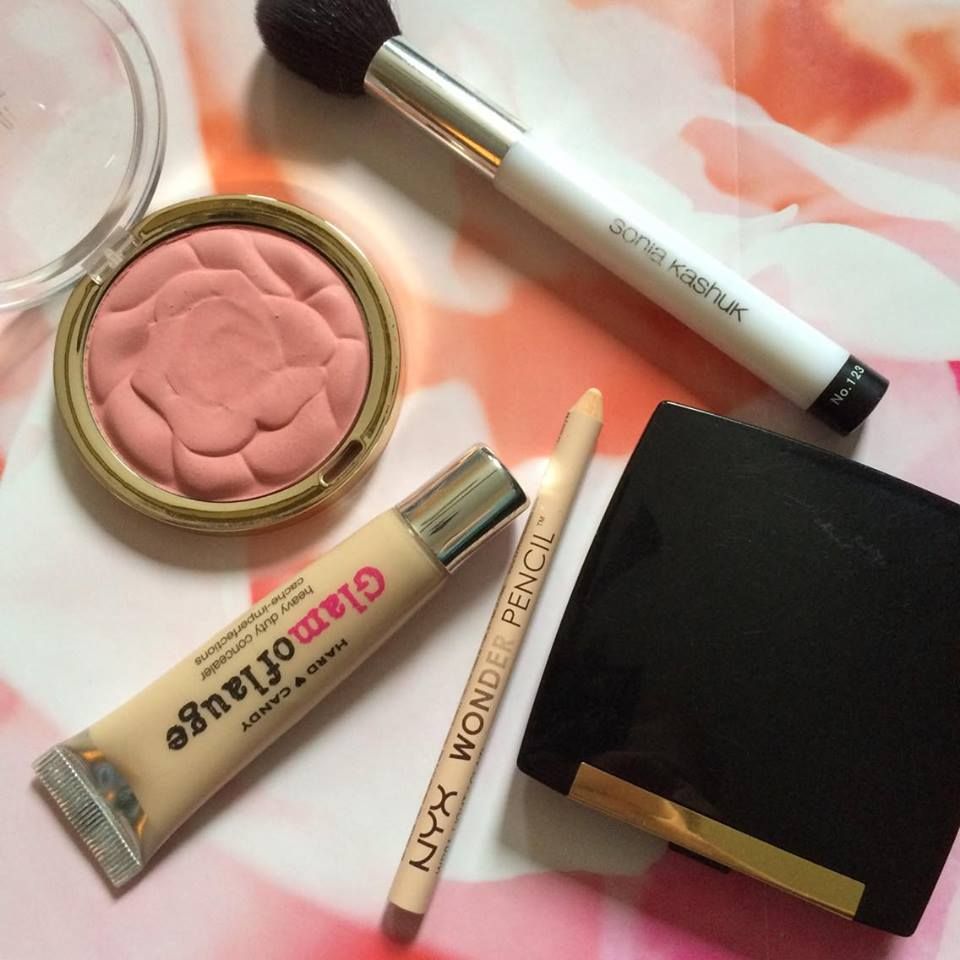
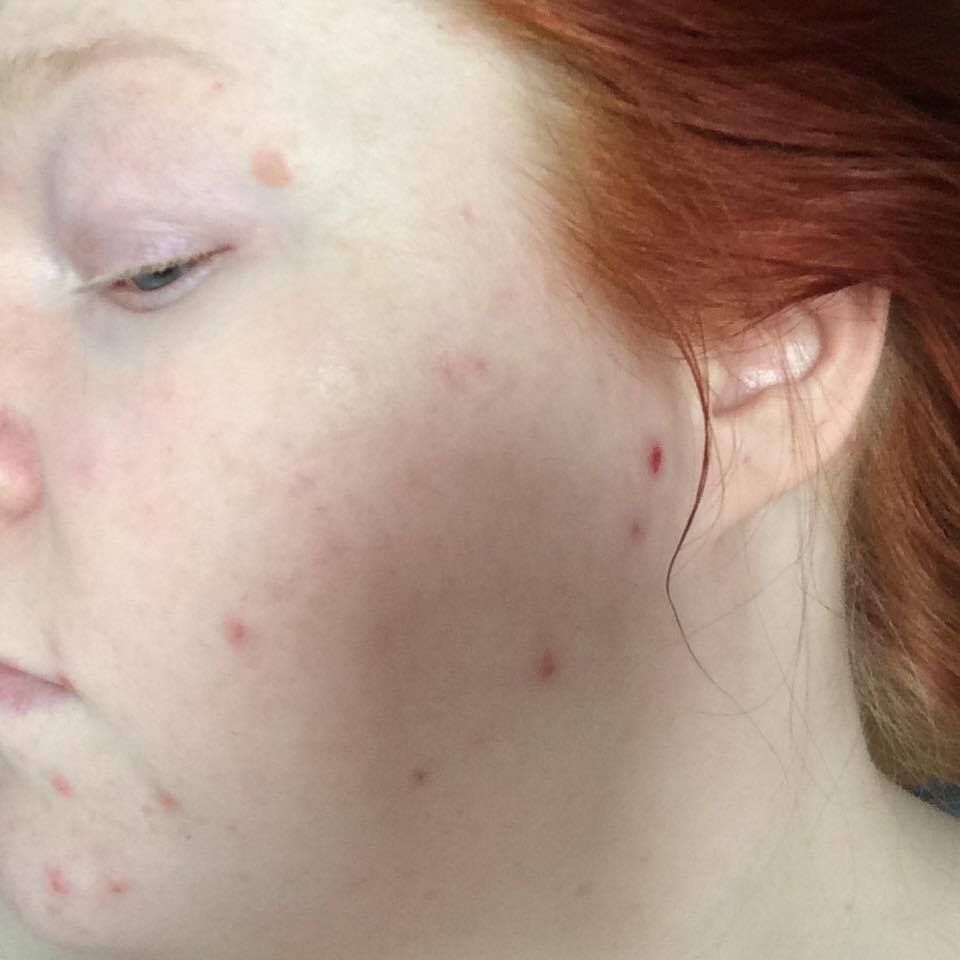
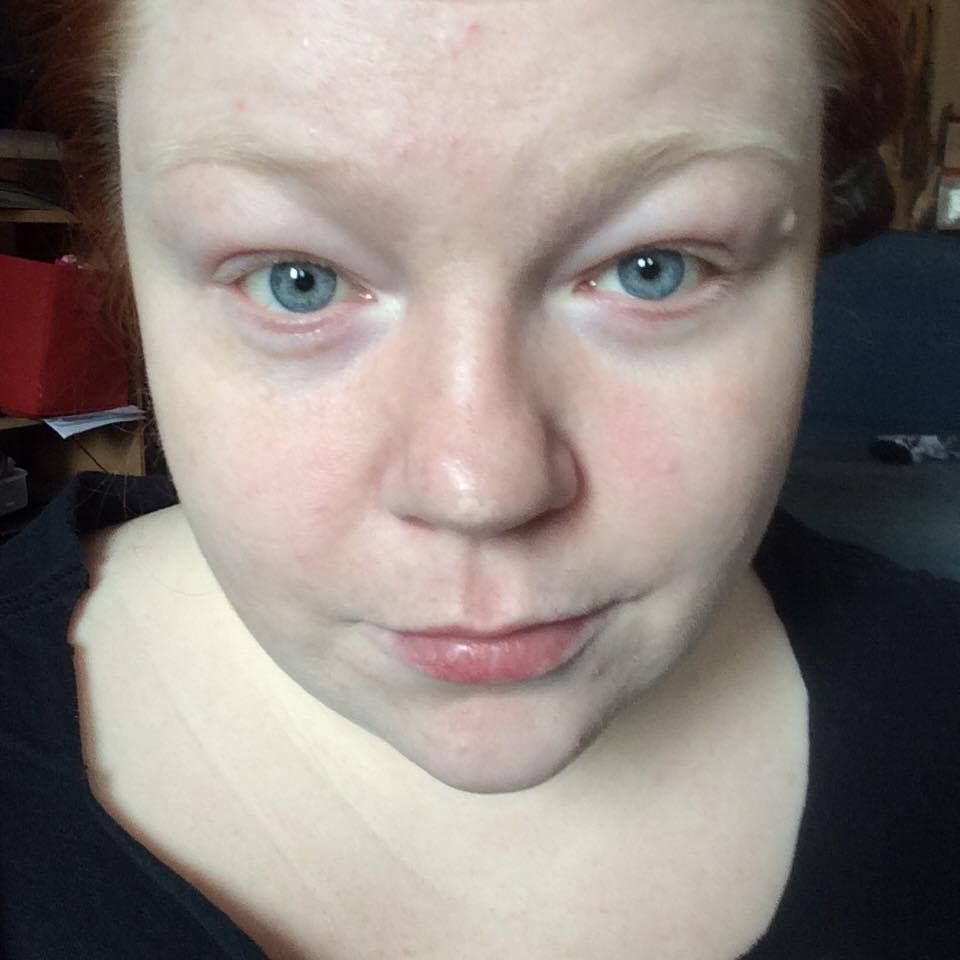
before makeup
Hard Candy Glamoflague concealer - around $6 at Walmart. This stuff is the bomb.com! (Sorry, I know I know, 2002 called and it wants that phrase back. I can't stop peppering conversation with it lately) Not only is it cheap, but the coverage is amazing, AND it comes in "ultra light" which is amazing for super pale me. I have a hard time finding makeup shades to match me, let alone at a drugstore. Everyone, and I mean everyone, needs this in their makeup bag.
Lancôme Dual Finish Wet/Dry powder foundation - around $55 at Sephora (or kinda wherever.. I get it locally at Sears sometimes - I use the lightest shades and not all stores that sell Lancôme carry the full range IE: Shoppers Drug Mart) I've been using this stuff for about 13 years or so now. The lightest shade (Matte porcelain 1 n) is a decent match for me. I love love love this foundation. It is pretty pricey (not in terms of good foundation but in terms of my life and budget) but 100% worth it. I personally have never really tried it wet save for a few times I ended up stuck in a bind forgetting concealer and needing more coverage on a pimple. It worked well enough. I find it has a smooth, layerable texture. Unlike some powders or powder foundations it does not cake for me. It covers extremely well without being heavy. I like to apply it with the thicker sponge that comes with it, personally. I find the sponge good for buffing it into my skin. On its own, this will cover up less extreme imperfections pretty well. I go through about one every 6 months, and I use it a lot.
Those two products I CANNOT LIVE WITHOUT. I repeat, absolutely cannot live without. I would honestly rather wear a bag over my head lol. I included a couple additional products that I also like to add to my "basic, no makeup" face aka I didn't do my brows and eyes.
Milani blush in Tea Rose - I picked this up on a whim one day at lawtons drugs. It was on sale for something like $6. How could I resist it, it's shaped like a rose!? I've used a few Milani blushes in the past and always liked them. This one seemed pretty large for the $$ too. They had three Colors, this one, a brighter coral, and something else maybe a beige. I usually gravitate towards peachy or coral blushes but I opted for this neutral pink and I'm glad I did. This has become my favorite every day blush. It is subtle but not invisible with buildable Color. I definitely recommend !
Nyx Wonder Pencil - around $8 at Shoppers Drug Mart. I don't often use concealer pencil on my face, preferring the liquid concealer mentioned above. HOWEVER, I find a concealer pencil extremely useful when I've got a really gross scabby pimple I'm trying to cover. One thing about concealing is that you can cover up discolouration, but texture is very hard to hide. The pencil works great to even out texture of a crusty ole nasty ass scab as best as you can. It fills in the cracks I guess lol. I also like this to use under my brows and above to sharpen the line of them and make them look really tight, when I do my brows.
And finally, an honourable mention to L'Oreals true match mineral powder. I like this either as a replacement for my Lancôme powder when I'm out of it and broke, or in conjunction. It layers pretty well and does provide a bit of coverage. I use it mainly for shine touch ups or blending in my blush without covering it up. Definitely something worth having and its around $14, available everywhere, and comes in a lot of shades.
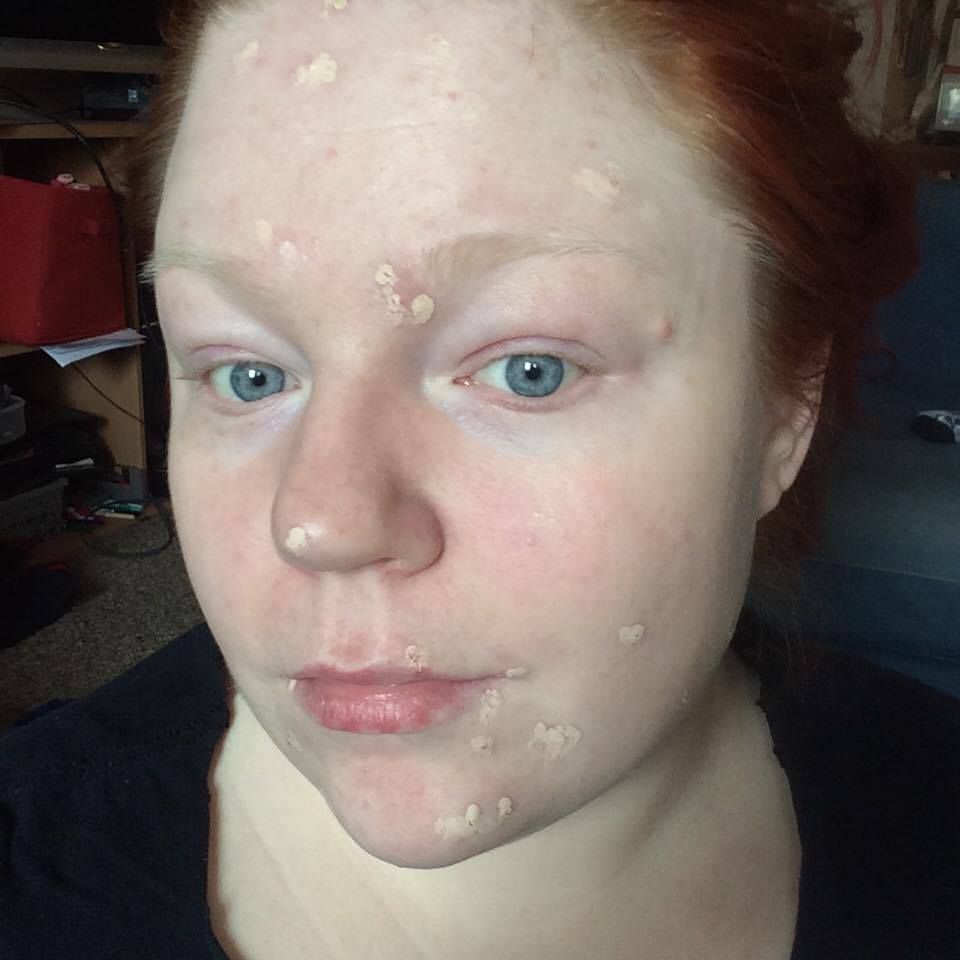
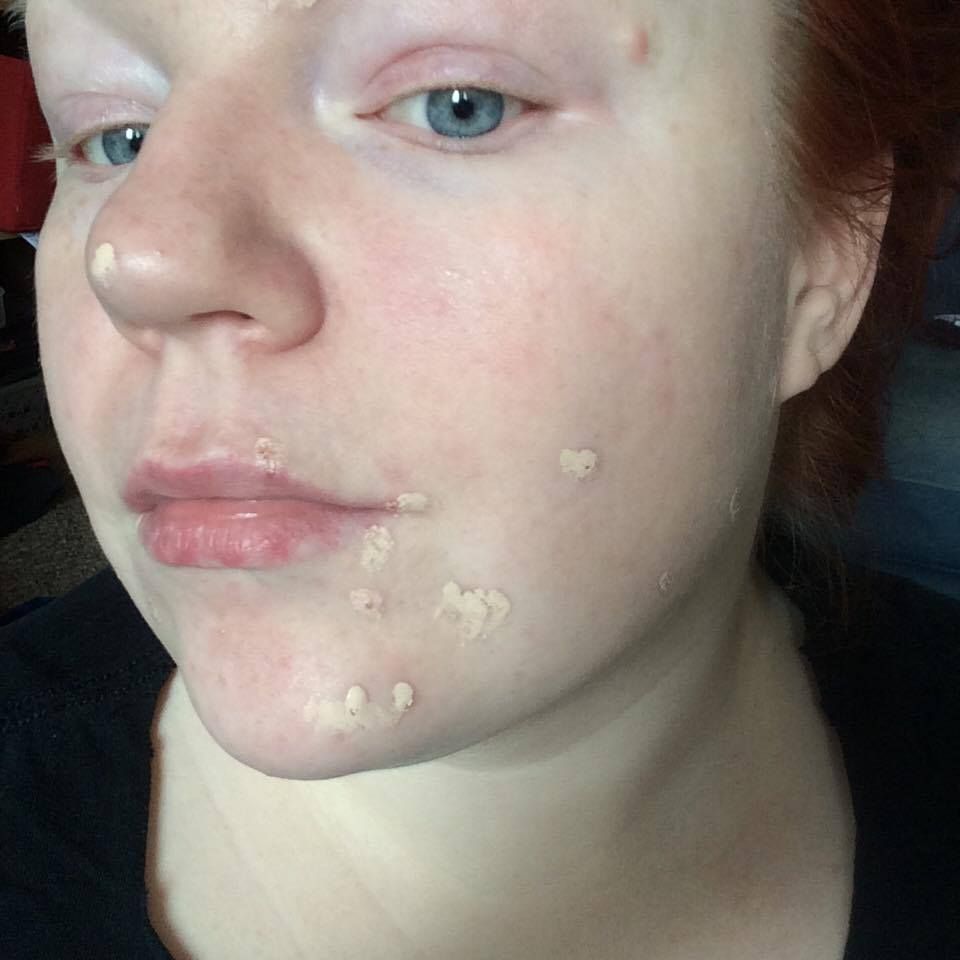
Putting on concealer:
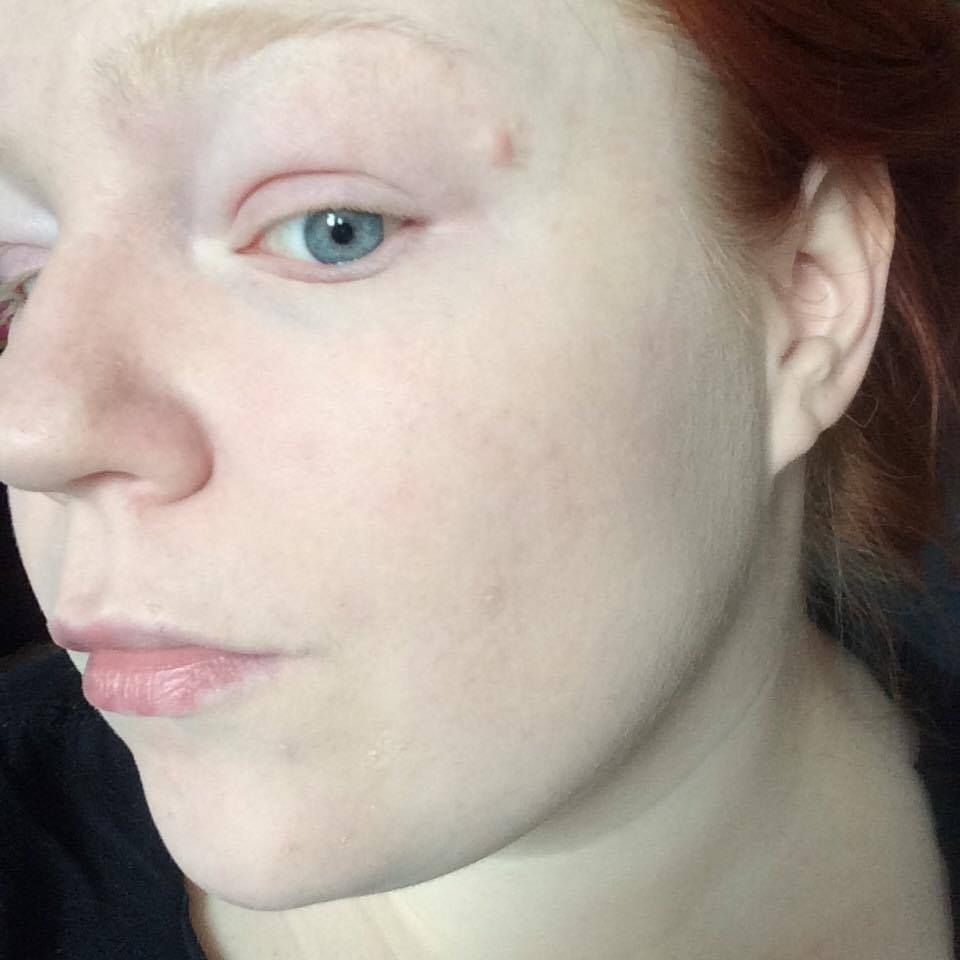
After concealer: see how good the coverage is?! For those w not terrible skin this would be enough.
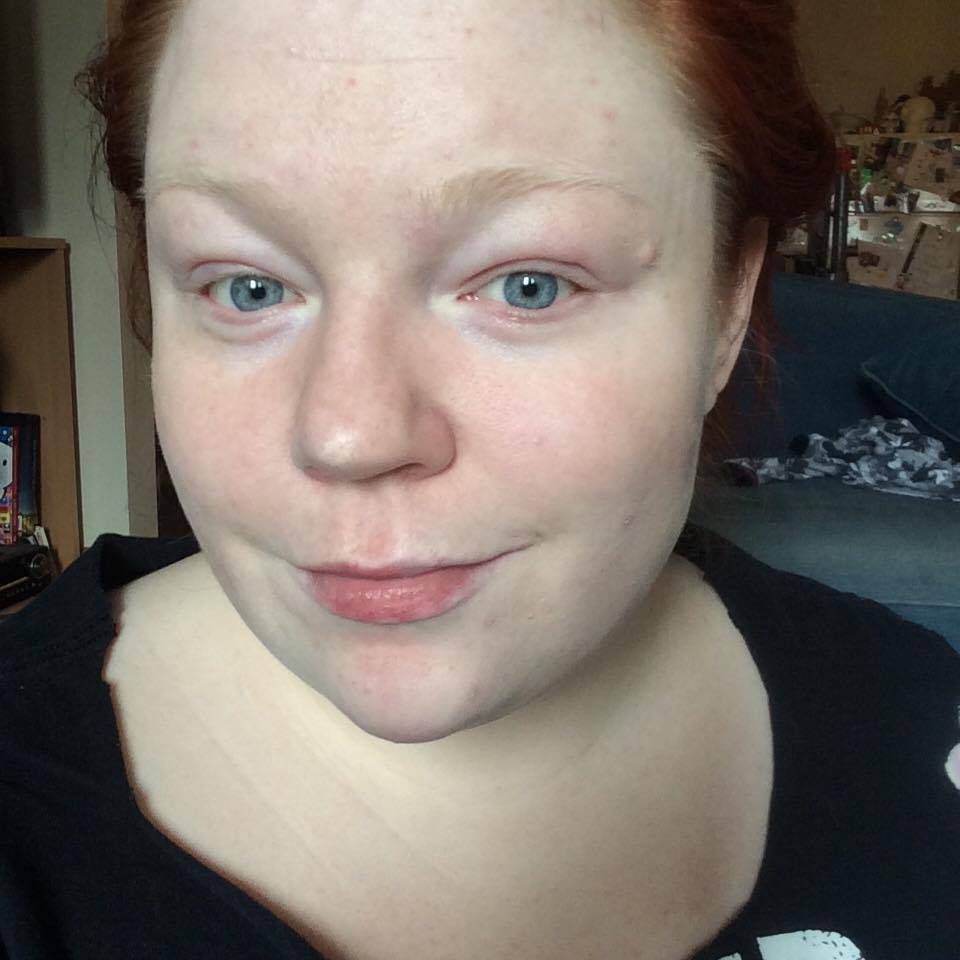
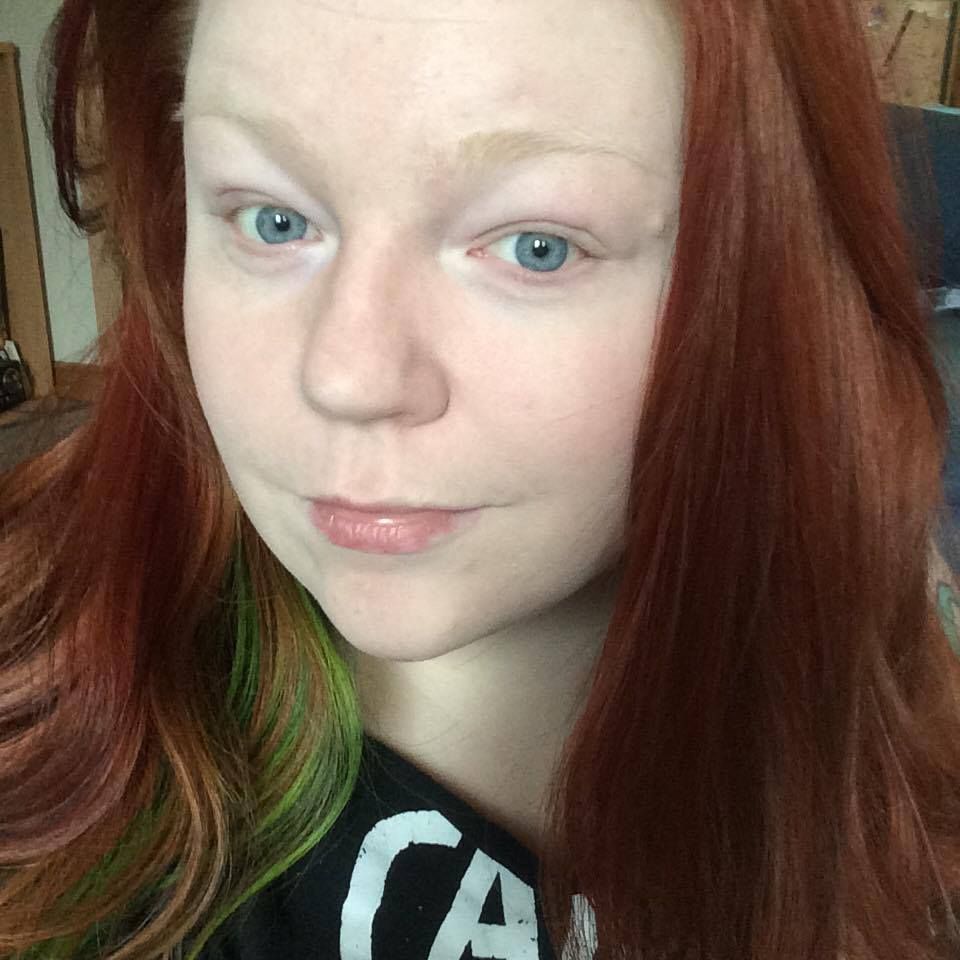
Finished Face
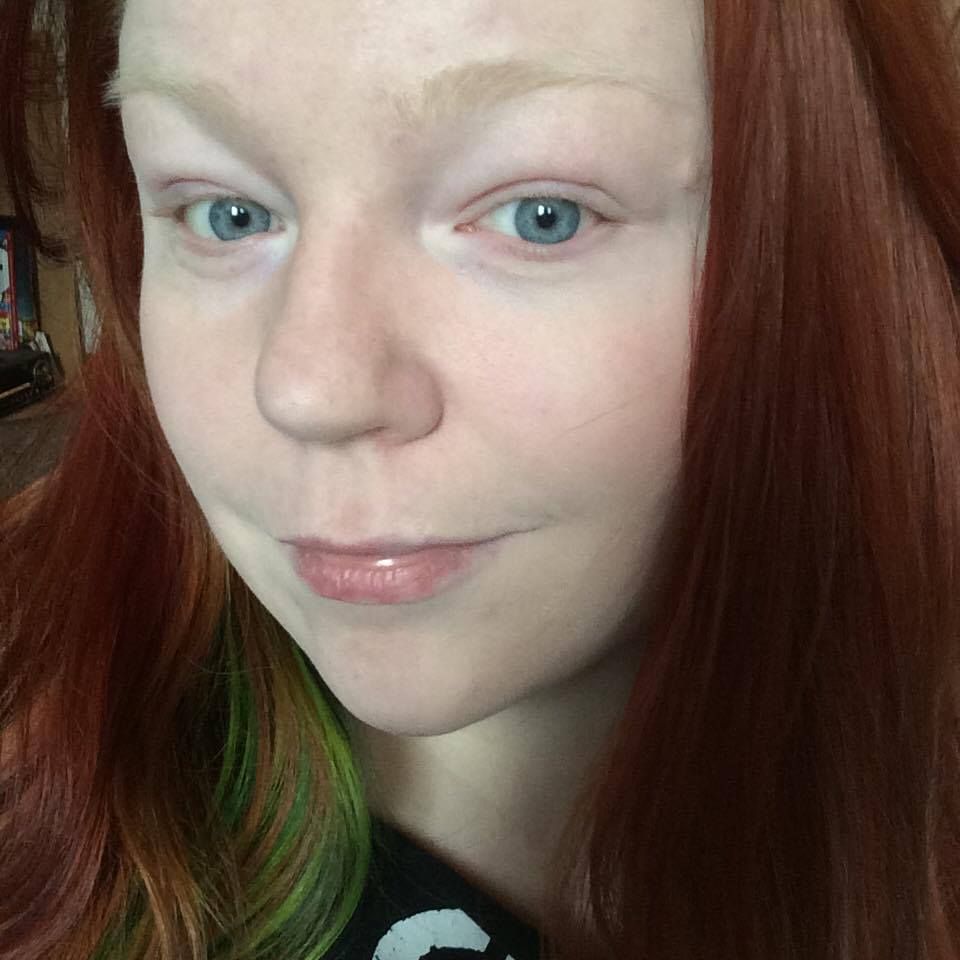
Now that I've told you about what I use, let's break this down a bit w some before and after photos and also some info about my application. So, here are my before photos. My period just ended so my skin is awful. I had a super stressful week, too. I think I also passed out a couple nights without washing my face which never ends well.
So, firstly I apply Hard Candy concealer to each blemish. I like to blend with my fingers. I know this will vary for people but I find that product spreads well with the warmth of your hands, I always have. Plus you aren't wasting product. With this concealer a little goes a very long way. For the first layer I gently pat the product into the blemish and blend outward. There is often enough to cover more than just the blemish. It ends up being almost like a lighter foundation application once I've blended it out. Here are some photos after I have applied my first round of concealer.
Next, I apply my powder foundation. I use the sponge to apply like a normal powder all over. Then I fold the sponge in half and use that folded part to really push the foundation into and around blemishes. I use a couple layers on bad areas and only light coverage where I don't have breakouts.
Next, I go back in with more concealer on spots still needing coverage. I like to use a brush for this step. One reason being the application is more targeted. I want to apply a very small amount and only directly onto the blemish. I also will not be able to blend it out this time, as I am now applying a cream product over a powder one and this can be tricky. Any brush will do.. Literally even a crafty dollar store paint brush (synthetic fiber brushes are easier to clean cream products out of) will work fine. Apply a little little little right on the spot and gently blend.
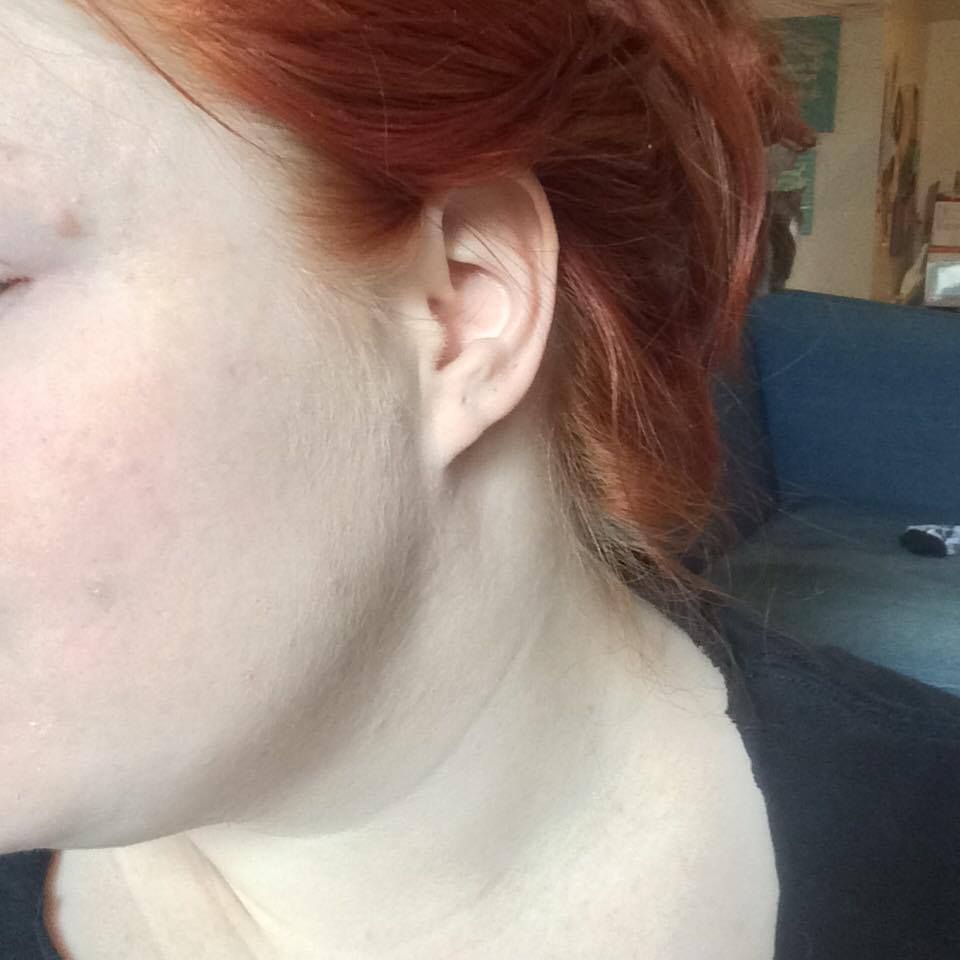
And that's it! I throw some blush on my cheeks and here we go. Here are some finished product shots. Check out that really nasty red scrape close to my ear in the before photo.. You can barely see it in the after. So, people with terrible skin.. Do not stress! I know it sucks but finding the products that work for you and your skin to conceal and using this layering method will make you feel so much better!